Knowing how to reattach a button seems like a great way to start sewing. Especially since if you know how to sew on one button that's fallen off, you can sew on five or six, which means you can personalize a garment by adding original buttons (there's no shortage of them)! So let's get started with this first tutorial.
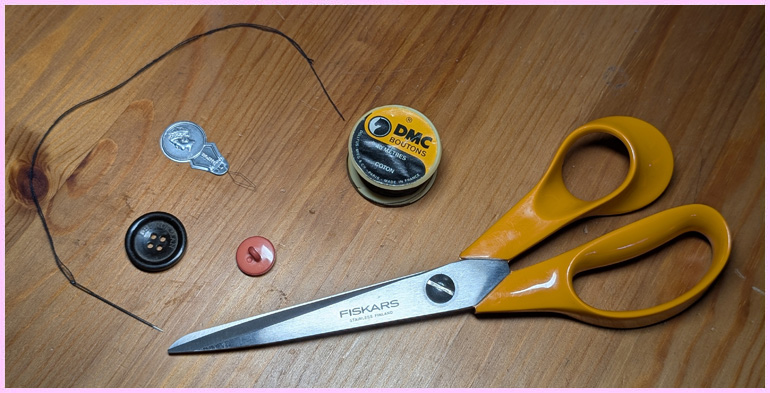
First of all, you will need a needle and thread, not just any thread, but button thread which is much stronger than "basic" thread. If you start sewing, take a good pair of scissors that will only be used for sewing (important to keep a good blade) and according to your eyes, a needle threader, it's not for what it costs and it's very useful!
The needle threader makes life easier depending on the size of the needle's eye and the condition of your eyes.
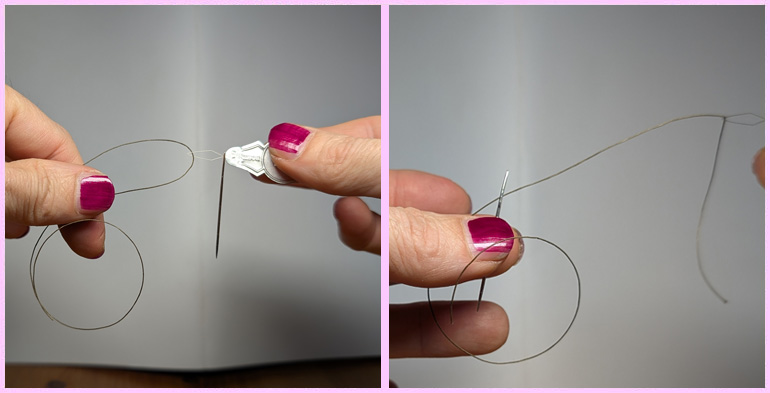
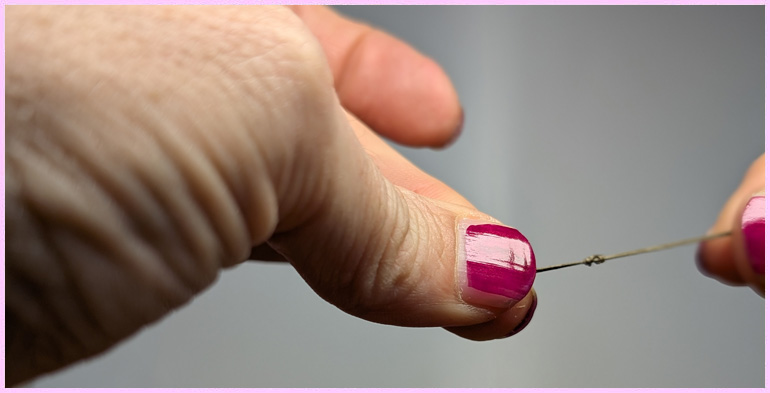
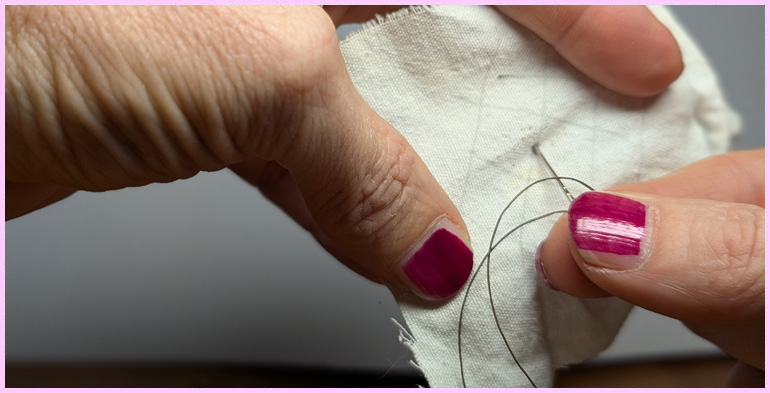
To sew on a button, you use a double thread. You must therefore balance the thread on each side of the needle and then make a knot at the end of the thread, a double knot even to make it thicker since it is this knot that blocks the thread and prevents it from running.
Insert the needle through the fabric, on the right side (i.e. the side where the button will be), so that the knot is subsequently hidden by the button. Bring the needle back through the fabric (using a short stitch, no more than 3 mm).
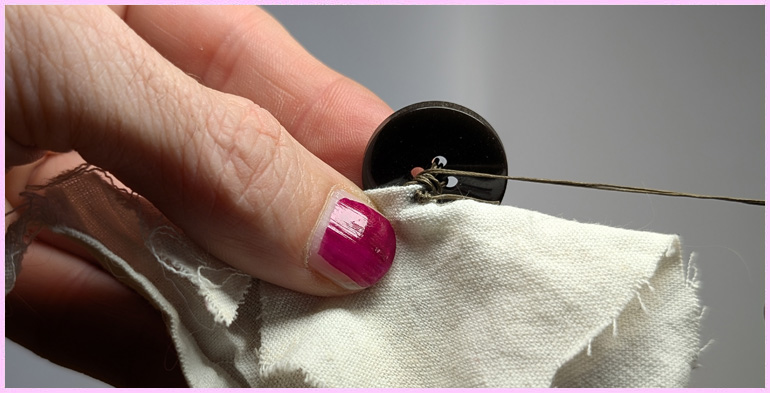
Pass the needle through the left hole of the button and then back through the right hole using a spacer (a toothpick or a match placed between the holes). This technique allows you to have enough thread to lift the button from the fabric, so you can easily thread it through the buttonhole.
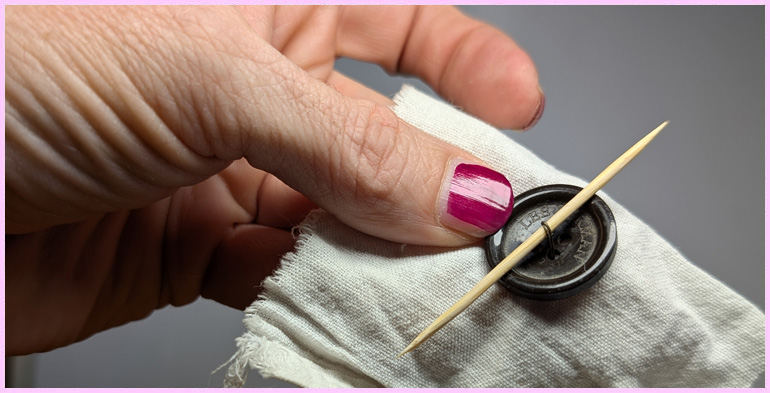
Repeat this process, bringing the needle out through the left hole and inserting it back into the fabric through the right hole a second time. If the button has four holes, make two more passes through the two additional holes.
Once done, remove the toothpick and insert the needle into any hole in the button, so that it emerges between the button and the fabric. Make three turns of thread around the fastening threads, then tie the thread by passing the needle through a loop of thread formed around the shank and pulling the thread tight. Repeat this process and cut the thread near the shank.